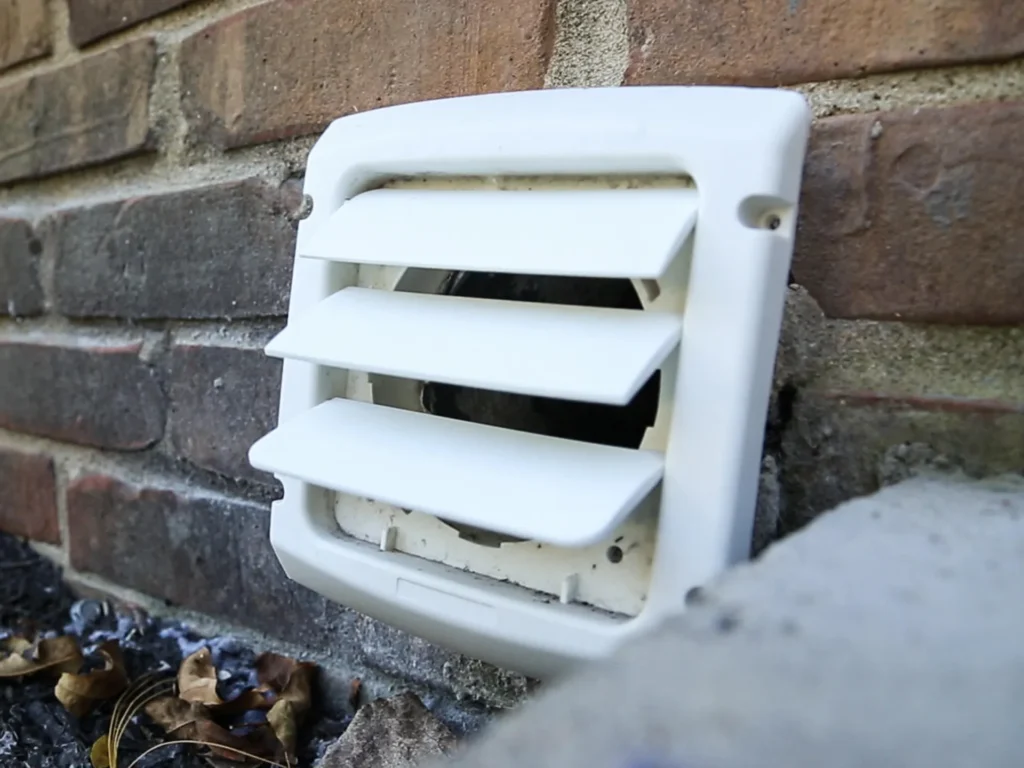
If you’ve ever peeked behind your dryer and noticed a cracked or missing vent cover, you’re not alone. Dryer vent covers are one of those little details we often forget about—until they break or get clogged. Replacing them might sound intimidating, but with the right resources and a bit of patience, even a beginner can handle it. In fact, learning about Dryer Vent Cover Replacement can save you a surprising amount of money and hassle down the road.
Why Replace Your Dryer Vent Cover?
Let’s start with the basics. The vent cover is more than just a finishing touch on your home’s exterior. It keeps out pests, prevents rain and debris from entering your vent, and helps your dryer run efficiently. If the cover is broken or missing, you risk higher energy bills, unwanted critters, and even potential fire hazards. Knowing how to replace it yourself is a handy home maintenance skill, and with the right guide, it’s easier than you might think.
Top Places to Find Step-by-Step Dryer Vent Cover Replacement Guides
Before you grab your screwdriver, you’ll want to get a clear, easy-to-follow guide. Here are some of the best places to find instructions that make sense—even if you’ve never tackled a DIY home project before:
- Home Improvement Websites: Sites like Family Handyman and Home Depot often have detailed, beginner-friendly tutorials. Search for “how to replace a dryer vent cover” and you’ll find written steps, photos, and sometimes even video walkthroughs.
- Video Platforms: YouTube is a treasure trove for visual learners. Look for channels focused on DIY or home repair. A quick search for “dryer vent cover replacement guide” will turn up plenty of short, practical videos.
- Manufacturer Instructions: If you’re replacing your cover with a brand-new one, check the packaging or the manufacturer’s website. Most companies offer downloadable PDF guides or installation videos specific to their models.
- Local Hardware Stores: Don’t underestimate the knowledge of your neighborhood hardware store staff. Many stores provide quick printed guides, and employees can often walk you through the process or recommend the right tools and materials.
“There’s a real sense of satisfaction in doing small home repairs yourself. It’s about saving money, but it’s also about learning something new and taking pride in your space.”
Key Features, Safety, and Cost: What You Need to Know
| Key Feature | Why It Matters |
|---|---|
| Proper Fit | Ensures a snug seal, preventing drafts and pests. |
| Durable Material | Withstands weather, heat, and repeated use for long-term savings. |
| Easy Installation | Saves you time and reduces frustration for first-timers. |
| Safety Features | Reduces fire risk by keeping lint and debris out of the vent system. |
| Estimated Cost & Safety Table | |
| DIY Replacement | $10–$35 for materials; low risk with basic precautions |
| Professional Service | $75–$200; safer for complex or hard-to-reach vents |
Safety should always be your top priority when working around appliances and exterior vents. Always unplug your dryer before starting, and use gloves to avoid sharp edges. If your vent is located on a roof or in a difficult-to-access spot, it’s wise to call a professional This is especially important for anyone with mobility concerns or if you’re dealing with a gas dryer vent.
What to Do in an Emergency: When to Call for Help
Occasionally, you’ll run into unexpected problems: heavy lint buildup, visible mold, or even bird nests inside the vent. If you notice any of these, or if you’re not sure whether your vent is safe to use, put down the screwdriver and call a pro. Many HVAC and appliance repair companies offer emergency services for clogged or damaged dryer vents. This isn’t just about convenience—it’s about keeping your home safe and your appliance running smoothly. Remember, a blocked or broken vent is one of the leading causes of dryer fires.
Pro Tip: Regular Dryer Vent Cleaning
While you’re at it, consider making dryer vent cleaning a regular habit. This not only extends the life of your new vent cover, but it also improves your dryer’s efficiency and reduces the risk of fire. Many guides on vent cover replacement include tips for cleaning out lint and debris—a crucial step for any responsible homeowner. Searching for “dryer vent cleaning” alongside replacement guides will give you the full picture.
Conclusion: DIY Confidence, Big Savings, and a Safer Home
Replacing your dryer vent cover might not be the flashiest home project, but it’s one of those little jobs that pays off big over time. With the right step-by-step guide, a few simple tools, and a focus on safety, you can handle it yourself and keep your laundry area running smoothly. And if you ever feel out of your depth, there’s no shame in calling a professional—especially when it comes to protecting your home and your family. Happy DIY-ing!Back to Top
Read more: Davis Dryer Vent Cleaning