If you’ve ever dreamed of customising your own Aga cooker or giving your current one a much-needed upgrade, Aga DIY Kits might be exactly what you’re looking for. Whether it’s a full conversion or a simple refurbishment, these kits are a popular and practical option for homeowners who want more control over their kitchen appliance setup.
In this comprehensive guide, we’ll cover everything from what’s included in an Aga DIY Kit, to installation tips, maintenance advice, and whether it’s the right choice for your home.
What Are Aga DIY Kits?
Aga DIY Kits are specially designed packages that allow you to convert, refurbish or upgrade your existing Aga cooker on your own, without the need for full professional installation. They often include:
- Heating elements (for electric conversions)
- New insulation and seals
- Replacement Aga cooker parts
- Detailed instructions for installation
They’re ideal for those looking to modernise an older Aga or switch fuel sources, such as moving from oil or gas to electric for better energy efficiency.
Why More Homeowners Are Choosing Aga DIY Kits
With the growing interest in sustainable living and energy efficiency, DIY Aga kit installation is becoming more common in UK households. Here’s why:
Cost-Effective Home Aga Upgrade
Hiring professionals or purchasing a brand new Aga can be costly. DIY kits provide a more affordable route to revitalise your kitchen.
Energy Efficiency and Going Green
Kits that help you convert Aga to electric are especially popular as they reduce carbon emissions and running costs.
Hands-On Customisation
A home Aga upgrade using a DIY kit allows you to tailor the cooker to your needs — whether it’s choosing a more modern heating system or improving its efficiency.
Different Types of Aga DIY Kits
Not all kits are created equal, and your choice will depend on the type of Aga you have and the upgrades you’re looking for.
Electric Conversion Kits
Ideal for those looking to convert Aga to electric, these kits replace the traditional heat source with modern electric components.
Gas to Electric Retrofit Kits
For homes switching from gas, these kits make it easy to modernise without replacing the entire cooker.
Refurbishment Kits for Older Agas
Aga renovation kits come with new seals, insulation, and panels to breathe new life into older models.
Common Aga Cooker Parts in DIY Kits
- Thermostats
- Control panels
- Heating elements
- Door seals
- Insulation materials
Each Aga cooker conversion kit should be reviewed carefully to ensure it’s compatible with your specific model.
DIY vs. Professional Installation: Which One Is Right for You?
Before diving into a DIY Aga kit installation, it’s important to weigh your options.
When to Hire a Professional
If your kit involves electrical work or gas disconnection, hiring a professional ensures everything meets safety regulations.
When DIY Makes Sense
If you’re mechanically inclined and the kit is straightforward, you can save money and enjoy the satisfaction of doing it yourself.
Safety First
Always follow manufacturer instructions and never attempt to modify gas components unless you’re a qualified engineer.
Step-by-Step: Preparing for Your Aga DIY Kit Installation
Proper planning is key to a smooth installation process. Here’s how to get started:
- Read the Instructions Thoroughly
Go through every step before beginning. If something seems unclear, reach out to the supplier. - Gather the Right Tools
A basic toolkit should include screwdrivers, a drill, safety gloves, and possibly a multimeter for electric kits. - Disconnect Power or Gas Safely
Make sure the appliance is cool and properly disconnected from any power source. - Clear the Work Area
Give yourself space to move around the cooker freely without any obstructions. - Take Photos Before You Start
This helps if you need to refer back to how components were originally installed.
Post-Installation: Aga Maintenance DIY Tips
Once your kit is installed and your Aga is back in action, regular maintenance will keep it running smoothly.
Regular Cleaning
Keep surfaces and internal components free of food debris and dust.
Routine Inspections
Check for wear and tear on seals, and make sure the thermostat is functioning properly.
Replace Worn Parts
Over time, small items like door seals and knobs may need replacing — many Aga cooker parts can be purchased online.
Common Questions About Aga DIY Kits
Is My Aga Model Compatible?
Most DIY kits will list the specific models they support. It’s crucial to match your kit to your cooker.
How Long Does Installation Take?
It varies. A basic Aga refurbishment may take just a few hours, while a full conversion could take a day or more.
Will I Void My Warranty?
If your Aga is under warranty, installing a DIY kit may void it. Always check with the manufacturer first.
Is Converting to Electric Really Better?
Yes — electric Agas are often more efficient, easier to control, and environmentally friendly.
Pros and Cons of Using Aga DIY Kits
| Pros | Cons |
|---|---|
| Cost-effective | May void warranty |
| Eco-friendly options available | Requires DIY knowledge |
| Great for refurbishing old Agas | Some conversions need professionals |
| Personal satisfaction | Mistakes can lead to inefficiency |
Final Thoughts:
If you’re someone who enjoys hands-on projects and wants to save money while upgrading your kitchen, Aga DIY Kits offer an appealing option. They provide a great middle ground between doing nothing and investing in a brand new cooker. However, if your project involves gas or complex electrical work, don’t hesitate to bring in a professional.
Whether you’re planning a simple upgrade or a full conversion, understanding what’s involved in a DIY Aga kit installation will help you make the best decision for your home.
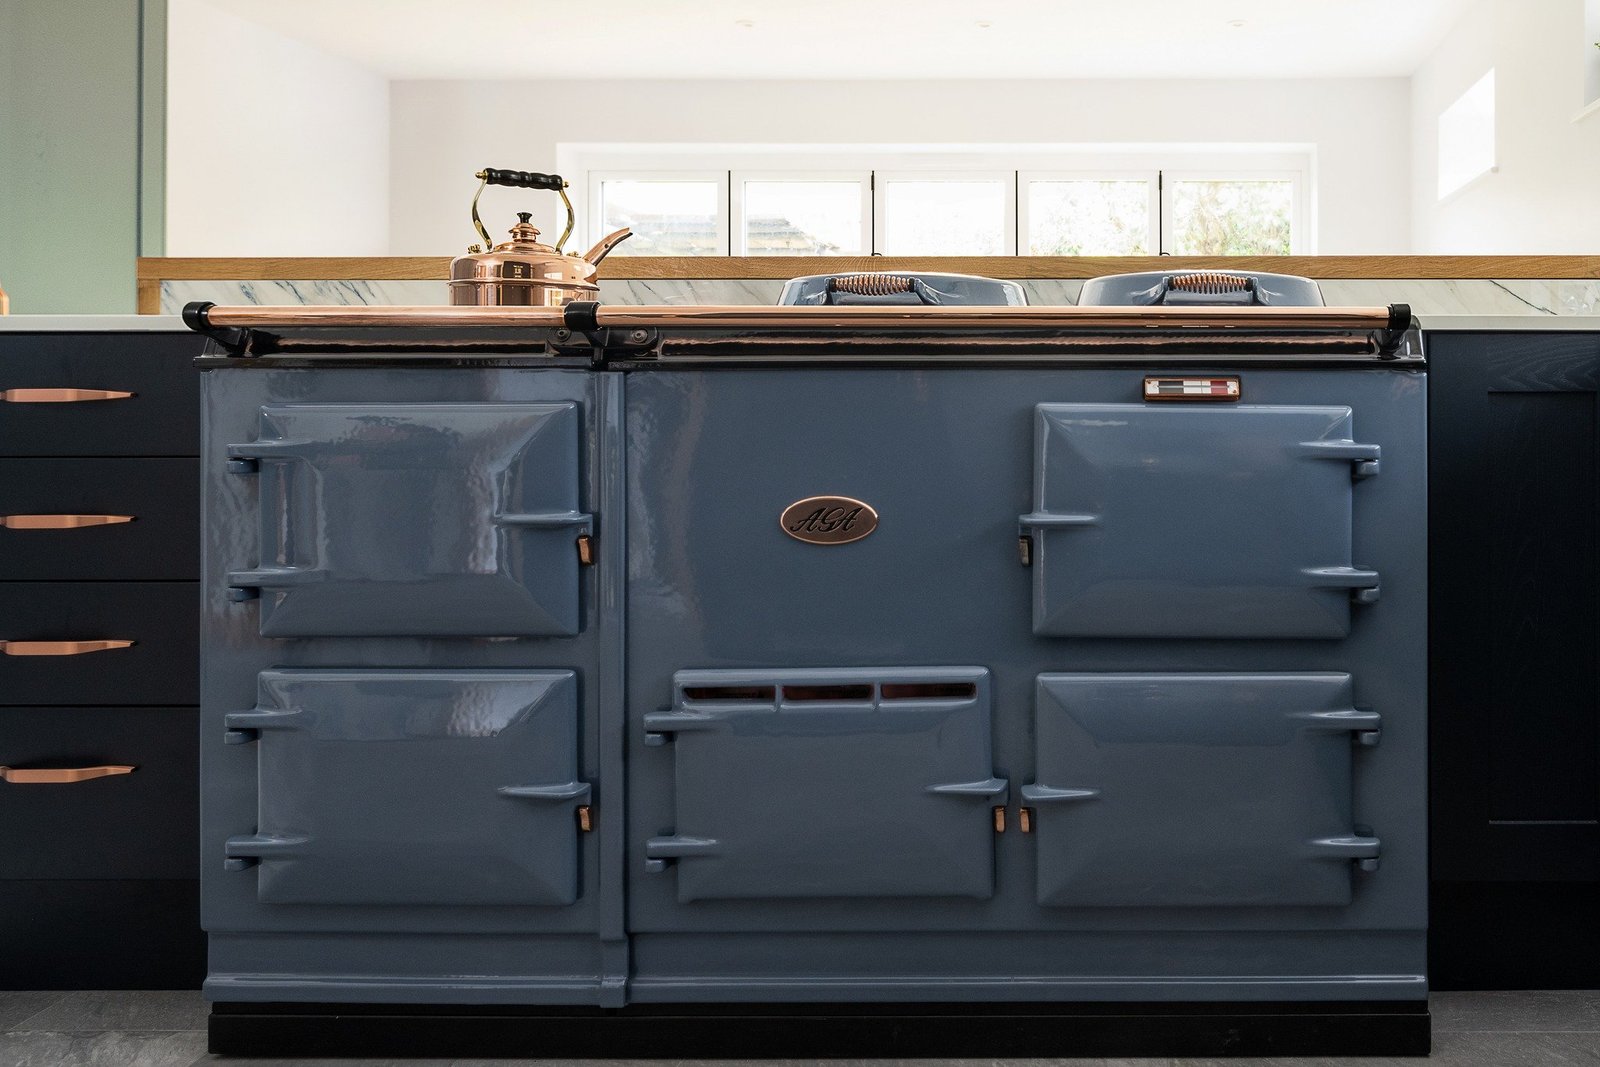
And for those who love both style and substance in their kitchen, a well-maintained AGA range cooker—DIY or not—is always a classic.