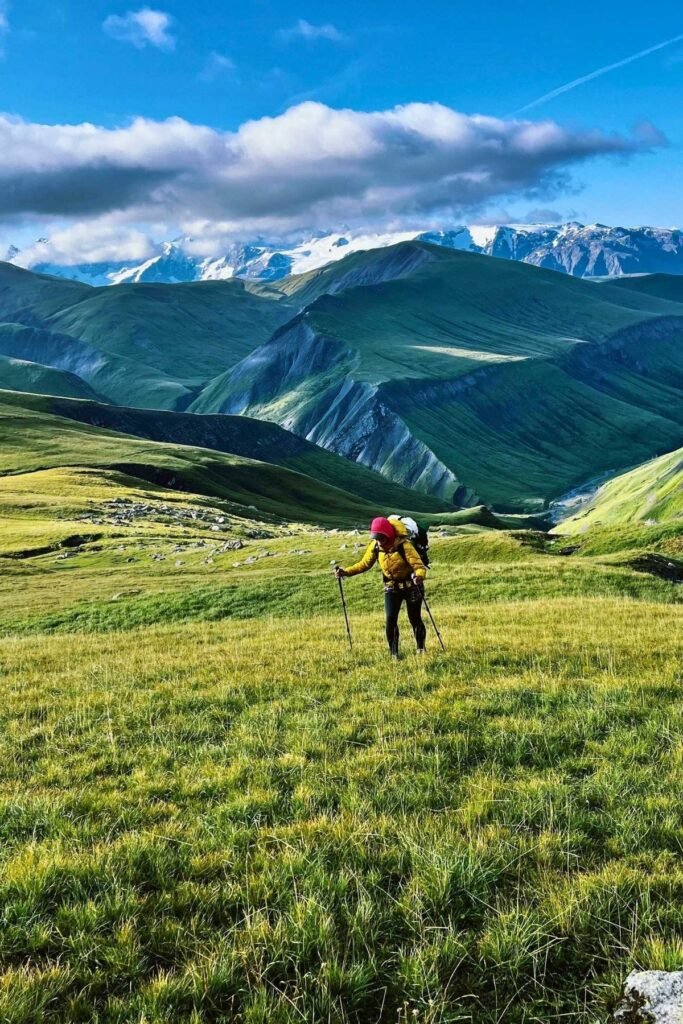
You’ve crushed the uphill hike. The view from the summit is breathtaking. But for many hikers, the real challenge begins on the way down. That’s when a dull, sharp, or persistent ache can start to speak from your knees. Downhill hiking with a backpack places immense strain on your knee joints. The good news? This pain isn’t inevitable. With the proper preparation, you can build resilient knees that laugh in the face of a descent.
This guide serves as your blueprint for preventing knee injuries while hiking. We’ll focus on practical strategies for preventing backpacking knee pain and the best exercises to build knee resilience, build strong knees for trekking.
Why Downhill Hurts: Understanding the Strain
Going downhill is a controlled fall. With each step, your leg muscles—especially your quadriceps—must contract eccentrically. This means they lengthen under tension to act as a brake and control your descent. This braking motion forces your knees to stabilize your entire body weight plus the weight of your backpack. Weak muscles, poor stability, and improper form turn your knees into shock absorbers, leading to pain. The goal of downhill hiking knee support isn’t just about braces; it’s about building support from within.
The Foundation: Strength is Your Best Brace
The single most effective way to protect knees hiking downhill is to build strong, supportive muscles around them. Your quads, hamstrings, glutes, and calves are your body’s natural knee brace.
Key Exercises for Knee Resilience:
Eccentric Step-Downs:
This is the #1 exercise to build strong knees for trekking. It mimics the exact motion of downhill hiking.
- Use a tiny step or box. Take 3-5 seconds to drop one foot to touch the ground behind you. Keep your standing knee stable to avoid bending or buckling. Push through the heel of your standing leg to restart. Perform three sets of 10–15 repetitions each leg.
Bulgarian Split Squats:
This powerhouse move builds incredible single-leg strength and stability.
- Place one foot on a bench or chair behind you. Keep your front knee over your ankle and lower your front thigh close to the floor. Push through your front heel to restart. Perform three sets of 8–12 repetitions each leg.
Calf Raises:
Strong calves help absorb impact with every step.
- To properly do this task, stand on a step and allow your heels to hang. Try a deep stretch by gradually rising to your toes and dropping your heels below the step. Three sets of 15–20 reps.
Glute Bridges:
Your glutes are your powerhouse. Weak glutes cause your thighs to rotate inward, putting stress on the knee.
- Start by reclining with your knees bent. Squeeze your glutes to lift your hips and keep your shoulders to knees straight. Drop gently after one second at the apex. Three fifteen-repetition sets.
Consistency with these exercises for knee resilience is the ultimate strategy for knee strength for hikers.
Beyond Strength: Technique and Gear for Knee Support
Strength alone isn’t enough. How you move and what you carry are critical parts of backpacking knee pain prevention.
Perfect Your Downhill Technique:
- Lean Forward, Not Back: It feels natural to lean back, but this puts more weight on your knees and makes you less stable. Instead, keep your torso aligned over your feet and lean slightly forward from your ankles.
- Bend Your Knees: Keep your knees softly bent instead of locking them out straight. This allows your muscles to absorb the shock, not your joints.
- Take Smaller Steps: Short, controlled steps give you more stability and reduce the impact force on each step.
- Use Trekking Poles: This is a game-changer for downhill hiking knee support. Poles allow you to offload up to 25% of your body weight from your knees to your arms and shoulders with each step. They also provide crucial stability on loose terrain.
Optimize Your Pack:
A hefty, poorly fitting backpack increases knee force. Keep your pack light and tight, with the hip belt carrying 80% of the burden. This reduces weight on your shoulders and lowers your center of gravity, improving balance and stability.
Putting It All Together: Your Pre-Hike Plan
Building resilience takes time. Don’t wait until the week before your big trip to start.
- 8+ Weeks Before: Start incorporating the strength exercises 2-3 times per week.
- Consistently: Go on training hikes with a loaded pack. Find hills to practice your downhill technique and use your trekking poles.
- Listen to Your Body: If you feel pain, rest. Pushing through hiking knee injury prevention.
Conclusion:
The path to pain-free downhill backpacking isn’t a mystery. It’s a deliberate practice built on a foundation of strength, innovative technique, and the right gear. The debate around downhill hiking knee support is settled: your strongest support comes from the powerful muscles you build through dedicated exercises for knee resilience.
By committing to a routine focused on knee strength for hikers, you move from hoping your knees will hold up to knowing they will. This is the core of effective knee injury prevention for hikers. You have the power to build strong knees for trekking and finally protect your knees while hiking downhill. Stop dreading the descent and start training for it. Your future self, enjoying a pain-free sunset at the end of a long trail, will thank you.