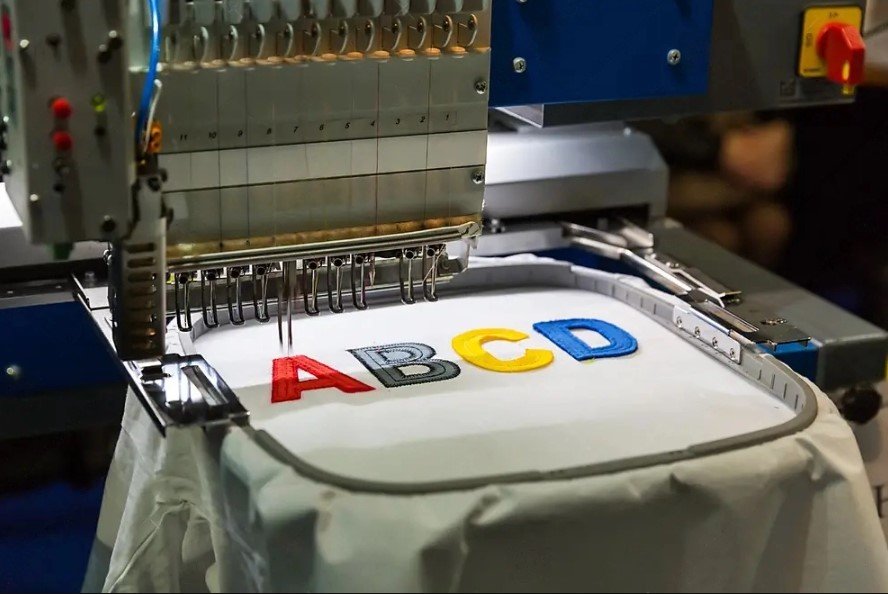
Embroidery hoops might seem like simple tools—just two rings that hold your fabric taut—but choosing the right one can make or break your stitching project. Whether you’re a beginner working on your first floral pattern or a seasoned pro tackling intricate designs, the hoop you select impacts everything from stitch tension to final presentation. Let’s unravel the mystery behind selecting and using embroidery hoops for any project.
Why Your Hoop Choice Matters More Than You Think
That innocent-looking circular frame does far more than just keep fabric in place. The right hoop:
- Maintains perfect tension for even stitches
- Preents fabric distortion and puckering
- Makes stitching more comfortable and efficient
- Can even serve as part of your finished display
Choose poorly, and you’ll battle loose fabric, uneven tension, and frustration with every stitch. The differences between hoops go far beyond size—material, shape, and even the type of closure mechanism all play crucial roles in your embroidery experience.
The Hoop Material Showdown
Classic Wooden Hoops
The traditional choice offers warmth and nostalgia, but not all wood hoops are created equal:
- Pros: Gentle on delicate fabrics, beautiful enough for display
- Cons: Can warp over time, may snag delicate threads
- Best for: Natural fiber fabrics, heirloom pieces, display embroidery
Plastic and Acrylic Hoops
Modern materials bring practical advantages:
- Pros: Lightweight, won’t warp, often have grip coatings
- Cons: Can be too rigid for some fabrics
- Best for: Everyday stitching, classes, projects needing tight tension
Spring-Tension Hoops
These innovative designs use internal springs rather than screws:
- Pros: Quick to adjust, maintain consistent pressure
- Cons: Limited size options, higher price point
- Best for: Frequent hoop changes, production work
Size Matters: Finding Your Goldilocks Hoop
Embroidery hoops range from tiny 3-inch diameters to massive 12-inch frames, but bigger isn’t always better. Consider:
Small Hoops (3-5 inches)
- Ideal for delicate work and fine details
- Perfect for small motifs and monograms
- Can be challenging to keep hands out of the way
Medium Hoops (6-8 inches)
- The sweet spot for most projects
- Comfortable to hold while stitching
- Fits most standard designs comfortably
Large Hoops (9+ inches)
- Necessary for big, continuous patterns
- Can cause arm fatigue during long sessions
- May require stand or frame for support
Specialty Hoops for Unique Needs
Beyond the basics, several specialized hoops solve specific embroidery challenges:
Q-Snap Frames
Rectangular frames with sliding tubes that maintain tension without constant adjustment—perfect for large projects like quilts or tapestries.
Magnetic Hoops
Use powerful magnets instead of traditional closures—great for quick fabric changes but require careful handling.
Nurge Hoops
German-engineered with a unique lip design that provides exceptional tension control—a favorite among professional embroiderers.
Display Hoops
Designed specifically for showcasing finished work with decorative finishes and tight clamping mechanisms.
The Often-Overlooked Details That Make a Difference
Inner Lip Design
Some hoops feature:
- Rubberized edges to prevent slippage
- Deep grooves for extra grip
- Smooth finishes for delicate fabrics
Closure Mechanisms
From basic screws to innovative spring toggles, the tightening method affects:
- How quickly you can adjust tension
- Whether the hoop stays secure during stitching
- How much pressure gets applied to your fabric
Weight and Balance
Heavier hoops provide stability but can cause fatigue, while ultra-light options may not maintain tension as well during long sessions.
Hoop Hacks Every Embroiderer Should Know
- Double Up Your Fabric
Adding a second layer of plain fabric behind your work helps maintain tension and prevents show-through. - The Hair Tie Trick
Wrap a hair tie around the inner hoop’s edges for extra grip on slippery fabrics like satin. - Rotate for Even Wear
Periodically turning your hoop prevents permanent creases in long-term projects. - Mark Your Center
Use water-soluble pen to mark hoop centers for perfect design placement every time. - The Paper Towel Trick
Place a paper towel between hoop and delicate fabrics to prevent marking while maintaining tension.
When to Replace Your Hoop
Even the best hoops don’t last forever. Watch for:
- Visible warping or bending
- Screws that won’t stay tight
- Fabric that won’t maintain tension
- Rough edges that snag threads
The Display Factor: Hoops as Finished Frames
More embroiderers are leaving finished pieces in their hoops as decorative displays. If this is your plan:
- Choose a hoop with attractive wood grain or colored finish
- Consider display hoops with special backing options
- Finish the edges with decorative wrapping or paint
Making Your Final Decision
When selecting your next embroidery hoop, ask yourself:
- What fabric am I using?
- How large is my design?
- Will this project become a display piece?
- How important is portability?
- What’s my budget for tools?
Remember—the perfect hoop should feel like an extension of your hands, not a barrier between you and your creativity. While it’s tempting to grab whatever’s cheapest or closest, investing in quality hoops suited to your specific projects will pay off in stitch quality, comfort, and finished results.
Your embroidery hoop is more than just a tool—it’s the foundation upon which every stitch is built. Choose wisely, and watch your needlework transform from frustrating to flawless. After all, in the world of embroidery, tension is everything—both in your stitches and in your relationship with your tools. The right hoop keeps both perfectly balanced.


